How to Clean an Air Fryer the Right Way

To clean an air fryer, unplug it and let it cool completely, then wash the basket and crisper plate with warm water, dish soap, and a soft sponge. Wipe the inside of the unit and the heating element with a damp cloth, and never dunk the main body in water.
I based this guide on manufacturer specifications, care instructions, and published guidance such as USDA food safety recommendations. The exact steps vary a little by model, so check your manual for anything specific to your machine, especially whether parts are dishwasher safe.
What You Need to Clean an Air Fryer
You do not need a cabinet full of specialty products. A few basic kitchen items handle almost every mess, and mild soap does most of the work. Harsh abrasives and metal scouring pads can scratch nonstick coatings, so keep them out of the rotation.
- Dish soap (mild, grease-cutting)
- Soft sponge or non-scratch scrubber
- Microfiber cloths or paper towels
- Warm water
- Small soft brush (a clean toothbrush works well for tight corners)
- Baking soda for stubborn, baked-on spots
- Optional: a degreaser labeled safe for nonstick surfaces
Before you start, pull out the manufacturer's manual and confirm which parts are removable and whether they are dishwasher safe. Product-specific details like dishwasher safety and maximum soak time should always come from the manufacturer, not from a general guide. If your model has a separate air fryer toaster oven combos design with a door and racks, the cleaning routine differs from a basket-style unit.
Step-by-Step: How to Clean an Air Fryer
Work through these steps in order. Cleaning while the unit is still warm but not hot is easier on grease, but always unplug it first and never clean a hot appliance.
- Unplug the air fryer and let it cool completely. Give it at least 30 minutes after cooking. Never leave hot oil unattended, and keep the cord away from the sink while you work.
- Remove the basket, crisper plate, and any accessories. Check the manual for which parts come out. Some models also have a removable rack or drip tray.
- Empty loose crumbs and grease into the trash. Tip the basket over the bin and wipe out loose debris with a paper towel. Do not rinse grease down the sink, since it can clog drains.
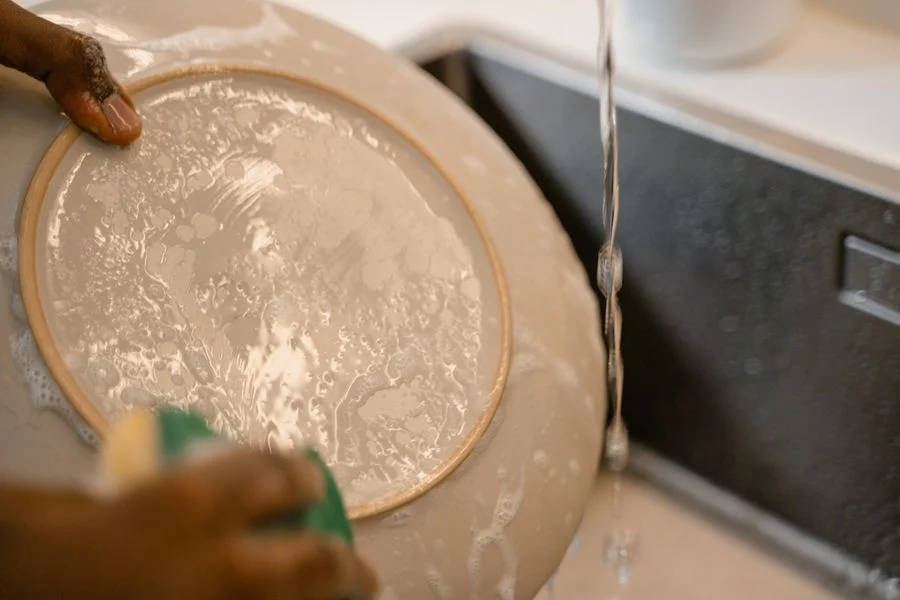
- Wash removable parts with warm water and dish soap. Use a soft sponge on the nonstick coating and a small brush for the corners of the crisper plate. If food is stuck, soak the parts in warm soapy water for a few minutes first.
- Rinse and dry the parts thoroughly. Towel dry or let them air dry completely before putting them back. Moisture left in the basket can cause splattering next time.
- Wipe the inside of the main unit with a damp cloth. Focus on the walls and the bottom where grease collects. Do not submerge the body or pour water into it.
- Clean the heating element carefully. Unplugged and cool, wipe the coil or element with a damp cloth or soft brush. Avoid bending it or scrubbing hard, and never spray cleaner directly onto it.
- Clean the door or window if your model has one. Use a damp microfiber cloth on the glass and a soft brush along the seal. Check the manual before using any cleaner near the gasket.
- Reassemble and run a short empty cycle. A few minutes at a moderate temperature helps dry any remaining moisture. Follow the manufacturer's guidance for preheating and clearance.
- Wipe the outside and clean the counter. A damp cloth handles fingerprints and splatter. Keep hot surfaces clear of curtains and cabinets, and follow the manufacturer clearance and temperature limits.
For day-to-day cleaning, a quick wash of the basket and a wipe of the interior is usually enough. A deeper clean every few uses keeps grease from baking onto the element. If you are shopping for a model that is simpler to maintain, my roundup of easy to clean air fryers covers designs with removable, dishwasher-safe parts.
| Part | How Often | Method |
|---|---|---|
| Basket and crisper plate | After every use | Warm soapy water, soft sponge, dry fully |
| Interior walls and bottom | Every few uses | Damp cloth, mild soap if needed |
| Heating element | Monthly or when greasy | Cool and unplugged, damp cloth or soft brush |
| Door glass and seal | Weekly | Damp microfiber cloth, soft brush on seal |
| Exterior | As needed | Damp cloth, dry immediately |
Common Mistakes to Avoid
Most cleaning problems come from a handful of habits. Avoiding them protects the nonstick coating and keeps the appliance working safely. The most common mistakes are easy to fix once you know them.
- Putting the main unit in water. The body contains electrical components. Wipe it down and never dunk it or run it through the dishwasher.
- Cleaning a hot air fryer. Let it cool fully first. Cleaning a hot basket can warp parts and risk burns.
- Using metal scouring pads or harsh abrasives. These scratch nonstick coatings and shorten the life of the basket. Stick with soft sponges and mild soap.
- Skipping the heating element. Grease builds up on the coil and can smoke or cause odors. Wipe it when it looks dirty, always unplugged and cool.
- Soaking parts longer than the manual allows. Long soaks can damage coatings or seals. Check the manufacturer's instructions.
- Storing the unit wet. Moisture trapped inside can lead to odors or damage. Dry every part before reassembly.
- Ignoring the drip tray or crumb tray. On combo models, a full tray can smoke. Empty and wash it regularly.
One more safety note: never put water on a grease fire. Smother it with a lid and turn off the heat. Keep the area around the air fryer clear, and follow the manufacturer's clearance and temperature limits at all times.
When to Replace Parts or Contact the Manufacturer
Some wear is normal, but certain damage means it is time to stop using the appliance. Inspect the basket, crisper plate, and cord after cleaning. If the nonstick coating is flaking badly, the basket is warped, or the cord is frayed, replace the part or the unit according to the manufacturer's guidance.
Contact the manufacturer or an authorized service center if you notice smoke from the unit that does not clear after cleaning, a burning smell, sparks, or a heating element that will not turn off. Repairs beyond basic cleaning belong with an authorized service center. Do not open the housing or attempt electrical repairs yourself.
If you are comparing replacements, think about your household size and cooking style. My roundup of large air fryers suits bigger families, while air fryers for 2 people fits smaller households. Both lists note which models are easier to clean, which matters more than extra features for many home cooks.
Frequently Asked Questions
Can I put the air fryer basket in the dishwasher?
It depends on the model. Check the manufacturer's manual before dishwashing any part, since coatings and warranties vary. Hand washing with warm soapy water and a soft sponge is always safe for nonstick parts.
How do I clean baked-on grease from an air fryer?
Soak the removable parts in warm soapy water for a few minutes, then scrub gently with a soft sponge. For stubborn spots, make a paste of baking soda and water, apply it briefly, and rinse well. Avoid metal scouring pads that can scratch the coating.
How often should I clean the heating element?
Wipe the heating element when it looks greasy or you notice smoke or odors during cooking. Always unplug the unit and let it cool first. A monthly check works for most households, but follow your manufacturer's care instructions.
What should I do if my air fryer smokes after cleaning?
A little smoke on the first run after cleaning can come from residual moisture. If smoke persists, unplug the unit and inspect the heating element and drip tray for grease. Contact the manufacturer or an authorized service center if the problem continues.
Final Thoughts
Cleaning an air fryer is mostly about consistency: wash the basket after each use, wipe the interior regularly, and keep the heating element free of baked-on grease. Mild soap, warm water, and a soft sponge do almost all the work, and your manual settles the model-specific details.
If cleaning has become a chore, it may be worth comparing designs with removable, dishwasher-safe parts before your next purchase. A few minutes of upkeep after each cook keeps the appliance running well and makes the next meal easier.