How to Sharpen a Kitchen Knife Step by Step

To sharpen a kitchen knife, you grind the edge against an abrasive surface at a consistent angle until the two bevels meet in a thin, even apex. You can do this with a whetstone, a manual pull-through sharpener, or an electric sharpener, and the method you choose depends on the blade and your comfort level.
I based this guide on manufacturer specifications, care instructions, and published guidance such as USDA food safety recommendations. Sharpening is a skill you build with practice, so I will walk you through the tools, the steps, and the mistakes that dull an edge or damage a blade.
What You Need to Sharpen a Kitchen Knife
Gather everything before you start so you are not hunting for supplies with a bare blade in your hand. A stable work surface and a way to hold the knife still matter as much as the abrasive itself.
- A sharpening surface: a whetstone (often a combination stone with coarse and fine grits), a manual pull-through sharpener, or an electric sharpener.
- Water or honing oil: whichever your stone manufacturer specifies. Some stones are used dry.
- A stable cutting board or a non-slip base: to hold the stone or the knife steady.
- A clean towel: to wipe the blade and dry it after sharpening.
- A honing steel or ceramic rod: for realigning the edge between sharpenings.
- A hand guard: if your sharpener or guide supplies one, use it to keep fingers clear of the edge.
If you are still deciding what to buy, my roundup of knife sharpeners for kitchen knives covers the main styles and who each one suits. For blades with unusual geometry, such as single-bevel Japanese knives, my roundup of knife sharpeners for all knife types explains the differences to look for.
How to Sharpen a Kitchen Knife Step by Step
These steps assume a standard double-bevel Western knife and a whetstone, which gives you the most control. Manual and electric sharpeners follow the same logic but hold the angle for you, so read the manufacturer instructions for the exact procedure.
- Set up a stable station. Place a damp towel or non-slip base under the stone so it cannot slide. Cut on a stable board, and keep the area clear of clutter.
- Soak or oil the stone if required. Follow the manufacturer instructions for your stone. A stone that needs water is usually soaked until it stops bubbling; an oil stone is lightly oiled.
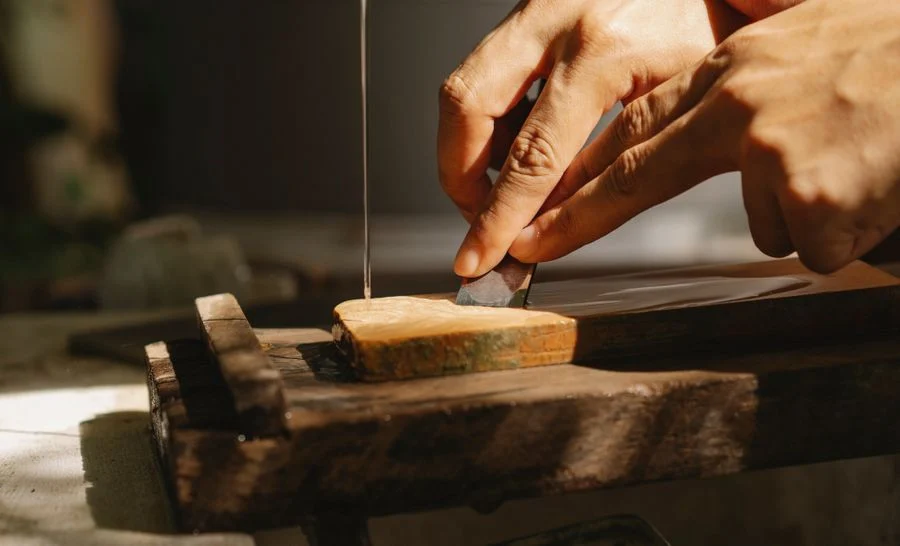
- Find the sharpening angle. Lay the blade flat on the stone, then lift the spine until the bevel sits flush against the surface. Many Western knives use roughly a 15 to 20 degree angle per side, but confirm the angle with the knife manufacturer because it varies by blade.
- Hold the angle and stroke. With light pressure, push the edge forward across the stone as if slicing a thin layer off the top. Keep the angle consistent from heel to tip, and keep fingers behind the spine and clear of the edge.
- Work both sides evenly. Alternate sides in the same number of strokes so the edge stays centered. Start with the coarser grit if the edge is dull or damaged, then move to the finer grit to refine it.
- Check the edge. Look straight down the edge under good light for a consistent bevel and no flat spots. You can also test the edge by carefully slicing through a sheet of paper; a sharp knife cuts cleanly without tearing.
- Hone and clean up. Wipe the blade dry, give it a few light passes on a honing steel to realign the edge, then wash and dry the knife. Store it so the edge is covered.
If you prefer a powered option, my roundup of electric knife sharpeners for home use covers the trade-offs between speed and control. Electric models remove steel quickly, so light passes and the manufacturer instructions matter.
Common Mistakes to Avoid
The most common mistakes come down to angle control, pressure, and skipping maintenance between sharpenings. A few small habits protect both the edge and your fingers.
- Letting the angle wander. A rocking wrist rounds the bevel. Pick an angle and hold it, or use a sharpener or guide that fixes it for you.
- Pressing too hard. Heavy pressure removes more steel than needed and can chip a thin edge. Let the abrasive do the work.
- Skipping the hone. A honing steel realigns the edge between sharpenings and delays the need for a full sharpening session.
- Sharpening a damaged edge on a fine stone. Chips and nicks need a coarser grit first, or professional service if the damage is deep.
- Forgetting the tip and heel. Work the full length of the blade, or the knife will feel sharp in the middle and dull at the ends.
- Leaving the blade wet. Dry carbon steel promptly and apply a thin coat of food-safe oil if the manufacturer recommends it.
- Cutting on hard surfaces. Glass, stone, and ceramic boards dull an edge fast. Cut on a stable board made for knives.
- Trying to catch a falling knife. Step back and let it fall. Keep fingers clear of the edge and use a hand guard where one is supplied.
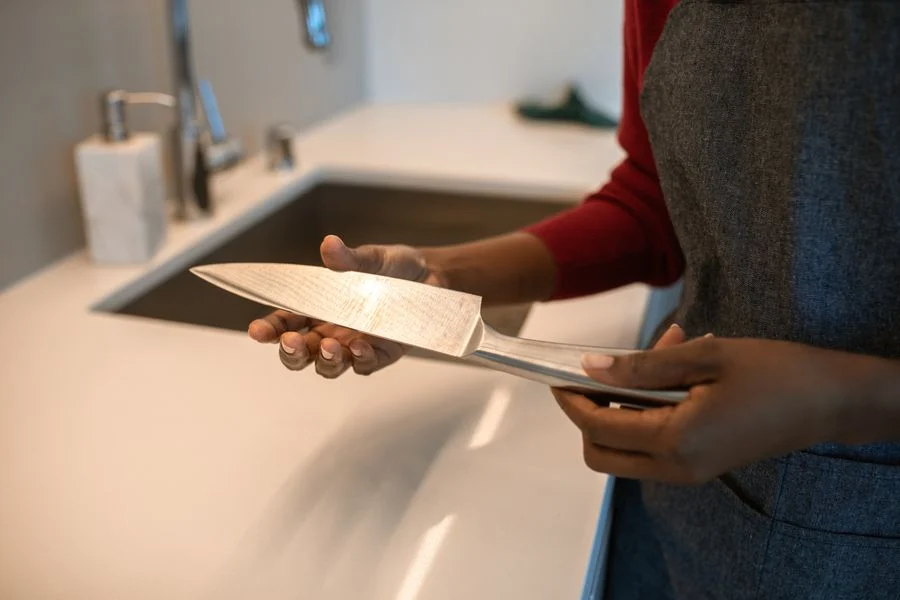
When to Replace the Knife or Contact the Manufacturer
Some problems are beyond routine sharpening. Inspect the blade before each session and stop if you see a crack, a loose handle, or a deep chip that a coarse stone cannot remove in a few light passes.
- Contact the manufacturer for warranty questions, recommended sharpening angles, or service options if the handle loosens or the blade cracks.
- Consider professional sharpening for deep chips, bent tips, or single-bevel Japanese knives that need specialized care.
- Replace the knife when the blade has been sharpened down to a narrow strip, when the edge repeatedly chips after light use, or when the handle cannot be repaired safely.
- Replace the sharpener when the abrasive surface is worn smooth, clogged, or damaged, or when a guide no longer holds the angle.
For Damascus blades, check the manufacturer guidance on etching and finish before sharpening, since some finishes are delicate. My roundup of Damascus kitchen knife sets notes the care points to compare.
Frequently Asked Questions
How often should I sharpen a kitchen knife?
It depends on how often you cook and what you cut. Hone the edge before or after each use, and sharpen when the knife starts tearing food or sliding off tomato skins instead of biting in. Light, frequent sharpening removes less steel than waiting until the knife is very dull.
Can I sharpen a serrated knife at home?
Only with tools made for serrated edges. A standard whetstone or pull-through sharpener can flatten the scallops. Check the knife manufacturer instructions first, and consider professional service if the serrations are worn or damaged.
Is a honing steel the same as a sharpener?
No. A honing steel realigns an edge that has bent slightly during use, while a sharpener removes steel to create a new edge. Use the hone regularly and sharpen less often, following the manufacturer instructions for both tools.
What angle should I use for a Japanese knife?
Many Japanese knives are ground at a narrower angle than Western knives, and single-bevel blades need a different technique. Confirm the angle with the knife manufacturer, and use a sharpener or stone suited to that geometry. When in doubt, professional sharpening is the safer choice.
Final Thoughts
Sharpening a kitchen knife is mostly about consistency: a steady angle, light pressure, and even work on both sides. Pick the method that matches your blade and your comfort level, whether that is a whetstone, a manual sharpener, or an electric model.
Keep the edge honed between sessions, dry the blade after washing, and store it with the edge covered. If the blade is cracked, deeply chipped, or worn thin, contact the manufacturer or replace it rather than forcing another pass.